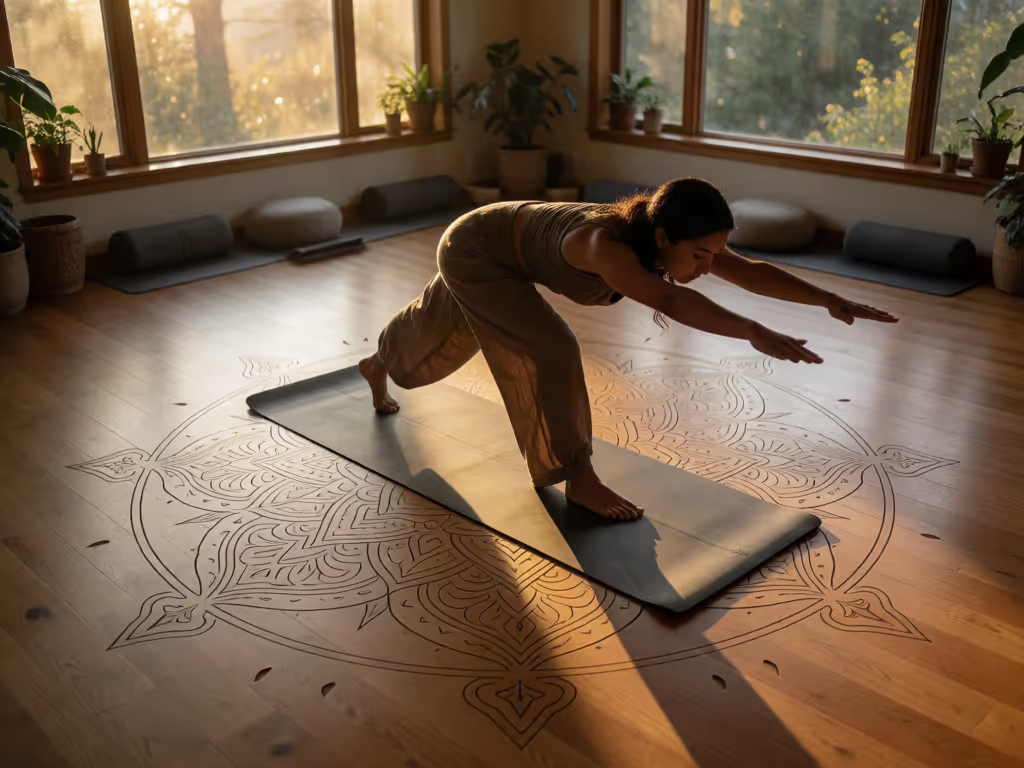
Hybrid Yoga Mat Setup: Design Your 360° Practice Zone[1][12][13]
By Mina Okafor • 3rd Oct
![Hybrid Yoga Mat Setup: Design Your 360° Practice Zone[1][12][13]](/images/article/thumbnail/09dd8986-2dcb-4658-b450-2b102fc8a5dd.avif)
What to do
Create two distinct practice zones: use the rectangular mat as your familiar station and the round mat as an optional open-direction area. The setup is a practical experiment, not a proven performance formula, so prioritize visible edges, stable surfaces, and clear pathways.
- Start with: Prepare a clean, dry, level floor; inspect both mat surfaces and undersides; and identify where you need the most support.
- Then: Place the mats separately, assign each a simple purpose, and test thickness, grip, and transitions slowly before attempting a full flow.
- Important prerequisite: No evidence establishes an exact gap or overlap configuration. Keep entry, exit, and equipment routes uncluttered, and use a wall or chair for balance work when appropriate.
Important: Shape-related benefits are limited, mostly manufacturer or retailer guidance, and should be treated as suggestions to test rather than universal rules.
A hybrid yoga mat setup (using a conventional rectangular mat alongside a round one) can be a thoughtful way to organize a home practice area when a single shape feels limiting. For ideas on sequencing movement across a circular practice surface, see this guide to designing 360° flows on a large yoga mat. The goal is not to make two mats behave as one giant surface. It is to create two clearly defined zones, then decide where you want linear room, open direction room, and a reliable place to pause. Comfort is engineered: density, thickness, and floor work together.
The research available on mat shapes does not directly test a combined round and rectangular arrangement, so treat this as a practical design experiment rather than a proven performance formula. Start conservatively, inspect every edge, and let stability (not novelty) make the final decision.
Step 1: Begin With Your Floor and Your Body's Contact Points
Before arranging either mat, look down. Your floor determines how much of the setup's behavior comes from the mat and how much comes from the surface beneath it, so review this guide to yoga mat floor compatibility before finalizing the layout.
- Clear and inspect the area. Prepare a floor that is clean, dry, level, and free from sharp objects. Remove cords, furniture corners, loose items, and anything that narrows your route into or out of the practice area.
- Identify your high-contact needs. Notice where you most want a steady surface: hands, knees, feet, or all three. This is not about finding maximum softness everywhere. It is about choosing a surface that feels sufficiently supportive without making standing work feel disconnected from the floor.
- Check the bottom as well as the top. Manufacturer guidance for floor coverings recommends testing the top surface dry and slightly damp, and checking the underside on smooth flooring. Do this before a full practice, especially if the mat has been stored rolled up or moved to a different room.
A good setup gives you fewer surprises: clear edges, a stable underside, and enough open floor to enter and leave the space without weaving around props.
On hard, smooth floors, this underside check deserves extra attention. On any floor, keep the perimeter visible rather than crowding it with blocks, bottles, or blankets.
Step 2: Assign Each Shape a Simple Job
To combine round and rectangular yoga mats without turning the room into an obstacle course, give each mat a purpose before you place it.
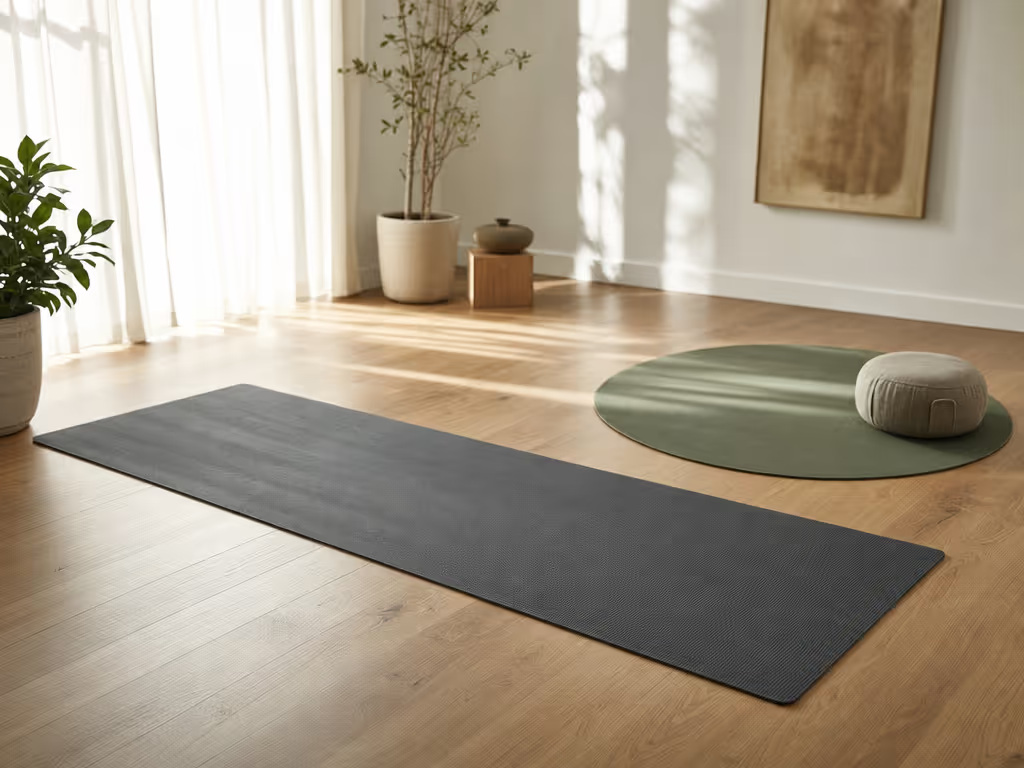
A rectangular mat offers a familiar, bounded lane. A standard rectangular size is often reported at roughly 183 by 61 cm, though your own mat may differ. If your body needs more length or width, measure your existing mat and your available room rather than assuming a standard footprint will suit you.
A round yoga mat can serve as an optional open direction zone. A manufacturer's buying guide describes round mats as allowing movement in all directions without repositioning; that is a useful possibility to test, not a universal advantage. Round mats are commonly reported in diameters from 4 to 6 feet, with larger diameters described by the manufacturer as offering more room for expansive movement and smaller ones as easier to manage and store.
A calm starting layout is:
- Rectangular mat: your primary, familiar station.
- Round mat: a separate nearby zone for moments when you want more room around you.
- Open pathway: an unobstructed route around the mats and to the door.
Avoid treating the boundary between them as a place to rush across. Available guidance does not provide a validated stepping protocol for moving from one mat to another. If you choose to transition between surfaces, inspect the edges first and move slowly.
Step 3: Choose Thickness With Stability in Mind
Yoga mat thickness is one dial, not the entire answer. A retailer buying guide gives 4 to 6 mm as a practical starting range for yoga and Pilates mats, while noting that comfort, practice type, and the surface beneath you still matter.
For a multi-mat home yoga space, use thickness to make each zone legible to your body:
- If you want both mats to feel similarly grounded, begin with surfaces of comparable thickness.
- If one mat is noticeably thicker, keep it as a distinct destination rather than assuming the transition will feel seamless.
- Be especially deliberate if a mat is around 12 mm thick. The same buying guide notes that this thickness can mean less direct contact with the floor in balance and standing positions. That does not make it categorically unsuitable; it simply calls for a slower trial.
My preference leans medium firm because it makes the stability dial easier to read. In a first apartment with unforgiving tile, I learned not to judge a surface only by the first pleasant impression under the knees. The steadier choice is often the one that still feels clear under your feet after a few careful standing tests.
Tune the dials: cushion, density, floor. Change one at a time. If you change mat thickness, do not also rearrange the room and introduce unfamiliar props on the same day. You will get clearer feedback about what actually helped.
Step 4: Set the Boundary (Do Not Guess at a Perfect Gap)
There is no exact two-mat spacing measurement in the available guidance. A commercial studio design article mentions 20 square feet per practitioner, but that figure is not a measurement for the gap between two mats.
Instead of measuring toward a number, use a functional check:
- Place the mats so their edges are easy to see.
- Walk around both mats at an unhurried pace.
- Confirm that you can reach your intended props without stepping over an edge.
- Check that the door, closet, and entry route remain clear.
- If the mats overlap, separate them for your first trial. No source here establishes an overlap configuration for a two-mat yoga layout, and separate edges are easier to inspect.
This approach may feel less "optimized" than drawing a precise floor plan, but it respects what the evidence can (and cannot) tell us. The most useful 360 degree practice zone is one you can navigate without having to remember where hidden boundaries are.
Step 5: Run a Slow Stability Trial Before a Full Flow
Do not make your first session on a new layout a fast or sweaty one. Begin with a short orientation session on each mat independently.
Test the rectangular station
Stand, shift your weight gradually, and notice whether the mat stays where you placed it. Check the top surface with dry hands and feet. If you expect perspiration, repeat your inspection according to the mat's material and care guidance. One retailer specifically cautions that an embossed PVC surface may become more slippery when wet or heavily perspired on; do not assume that finding applies to every material or texture.
Test the round station
Explore the usable space without approaching the edge quickly. The point is not to prove that the round format is "better" for any category of movement. You are checking whether the shape gives you enough visible, comfortable room for the way you personally move.
Test your support option
For balance oriented practice, arrange the zone near a wall or position a chair where it is easy to reach without crossing a mat edge. Teacher guidance includes a hand at the wall or on a chair as a way to modify balance work. Move slowly from floor to standing during your warm up, and let stepping down, resetting, and trying again be part of the design.
Step 6: Keep the Setup Maintainable
A practice zone succeeds when you can reset it without a complicated routine. After cleaning a mat, allow it to dry completely before rolling it up. Store the round mat flat only if its own care instructions permit it; otherwise, follow the maker's guidance rather than forcing a storage method that does not suit the material. For additional ideas on keeping a two-mat zone organized, explore these yoga mat storage solutions.
Once a week, repeat a brief check:
- Is the floor dry and clear?
- Are the top surfaces and undersides still behaving as expected?
- Are the edges lying flat enough to see easily?
- Is your pathway still uncluttered?
- Does the layout still match the kind of practice you are actually doing?
FAQ: How Far Apart Should Two Yoga Mats Be?
The available guidance does not establish an exact safe distance between two yoga mats. Rather than using the 20-square-foot studio planning figure as a gap rule, preserve clear entry and exit pathways, keep equipment access uncluttered, and leave enough visible floor that you can move around each mat without stepping over objects.
Build Your First Version Today
Set out your rectangular mat, place the round mat as a separate adjacent zone, and clear the path around both. Test each surface dry, check the underside against your floor, and try a slow five-minute orientation before committing to a longer session. Then adjust only one variable (placement, thickness, or available open space) and retest. That measured approach turns a two-mat idea into a practice zone designed around your own stability and comfort.
Related Articles
![Large Circular Yoga Mat Comparison: Nonslip Grip & Support[6][15]](/images/article/thumbnail/49cb1db8-f902-4a77-a8ea-e56ec2659117.avif)